Publishing Your New Branded iOS App
At last, after following all the previous steps and passing beta testing, your branded iOS app is ready to publish for general distribution on iTunes. You need a Mac computer with Xcode installed (Xcode is a free download), and you need the three provisioning profiles and p12 file that you created copied to the same computer that you are using to upload your app to iTunes. You will also need a number of screenshots of your app in specific sizes and resolutions, which are detailed in your iTunes Connect setup screen.
Note
Apple must review and approve your app, and the approval process can take several days to several weeks.
Download your xcarchive.zip file from your account on https://customer.owncloud.com/owncloud. Your friendly Mac computer will automatically unpack it and change the name to something like Owncloud iOs Client 02-07-15 10.30.xcarchive. Double-click on this file to automatically install it into Xcode. Go to Xcode and you will see it in the Archives listing under Window > Organizer.
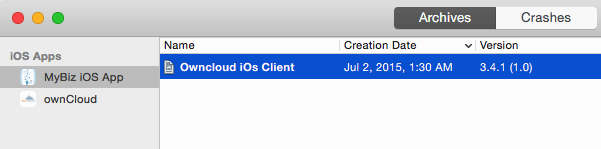
figure 1
Next, go back to the Apple Developer Member Center to log into iTunes Connect to set up your app storefront.

figure 2
After logging in click the blue My Apps button. This takes you to the main screen for managing your apps on iTunes.
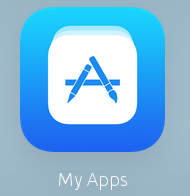
figure 3
Click the plus button on the top left to setup your new branded iOS app.
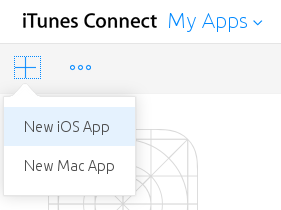
figure 4
This opens a screen where you will enter your app information. Make sure you get it right the first time, because it is difficult to delete apps, and Apple will not let you re-use your app name or SKU.
- Enter any name you want for your app. This is the name that will appear in your App Store listing.
- Choose your primary language.
- Select the bundle ID from the drop-down selector.
- Enter your app version number, which should match the version number as it appears in your Xcode organizer.
- The SKU is a unique ID for your app, and is anything you want.
Then click the Create button.
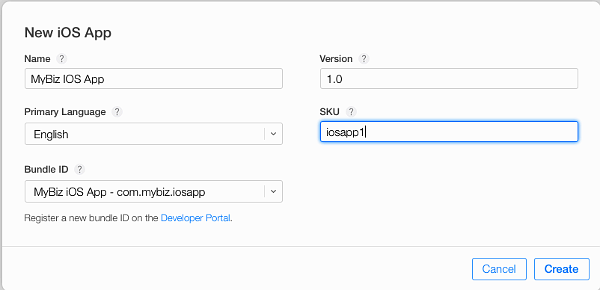
figure 5
Now go back to your Xcode organizer to upload your app; click the blue Submit to App Store button.
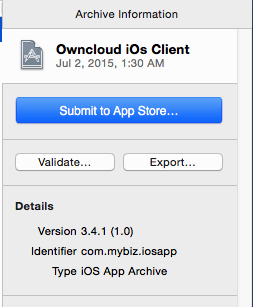
figure 6
This takes a few minutes as it verifies your bundle ID and certificates, and then you will see an upload status.
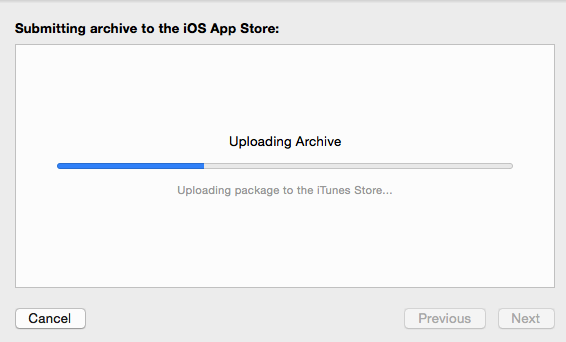
figure 7
At long last, after working through this long complex process, you are almost ready to publish your app on iTunes.
Setting up Your iTunes Storefront
There are just a few steps remaining. Now that you have uploaded your branded iOS app, you need to upload some screenshots, an optional demo video, and fill in some information for your app listing on your iTunes storefront. You should see something like this on your main screen (figure 8). You should click the Save button at the top right periodically to preserve your changes.

figure 8
This screen displays all of your apps and their submission status. Click Prepare for Submission to get started on the submission process. The first screen is for entering screenshots of your app for various devices, and optionally a demonstration video. Click the little question marks to learn the required image specifications.
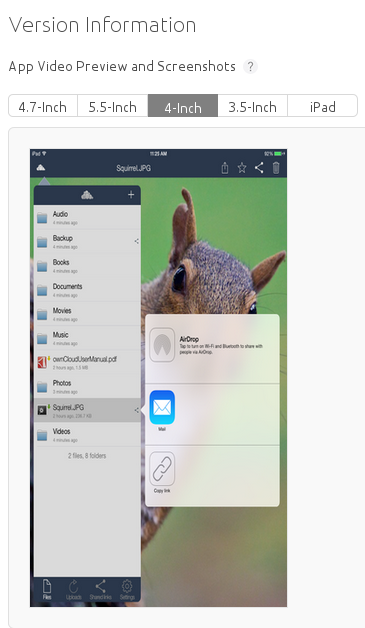
figure 9
Then you must enter your app name, a description, some keywords for iTunes searches, and some optional URLs.
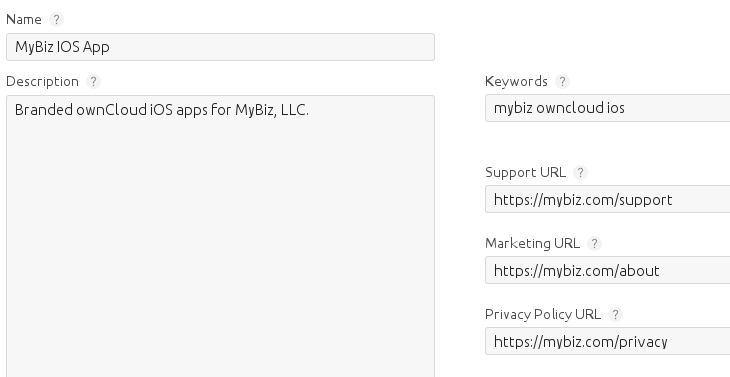
figure 10
The next section is for Apple Watch. If you don’t support Apple Watch you can skip this.
The General App Information section requires a 1024x1024 logo, version, rating, category, license, copyright, and contact information.
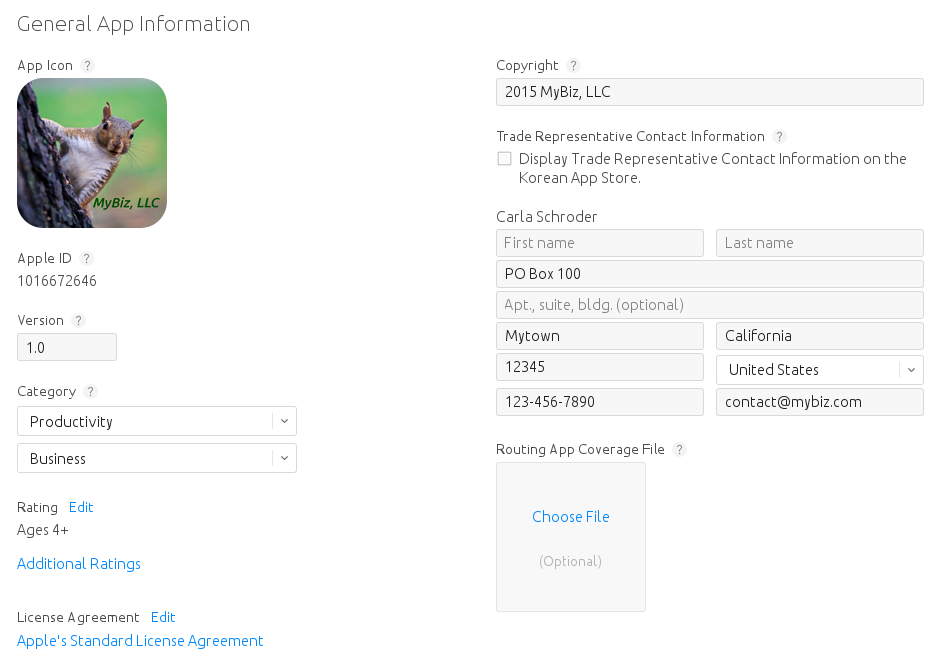
figure 11
In the Build section, click the plus button and select your app.
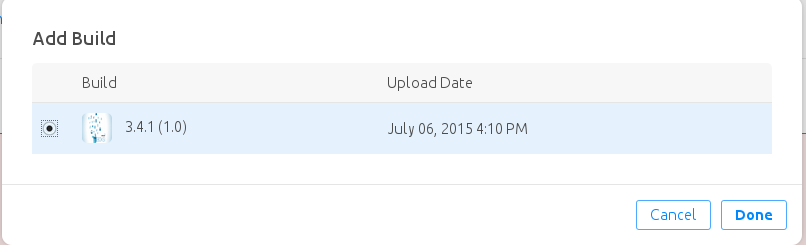
figure 12
The App Review Information requires contact information, and some information about your app to guide reviewers. Remember, everyone on iTunes can review your app, so it’s in your best interest to be helpful. You may optionally provide a login for a demo account.
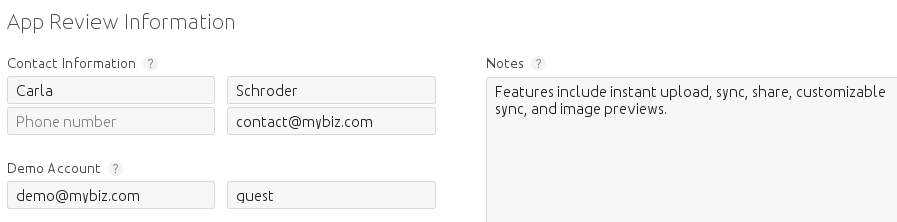
figure 13
The Version Release section allows you to choose between automatic release, which means your app will be published upon approval, or manual release, where you must release your app after it is approved.
Pricing
Next, you must go to the Pricing page to set your price, and to select the terroritories you want your app to be available in.
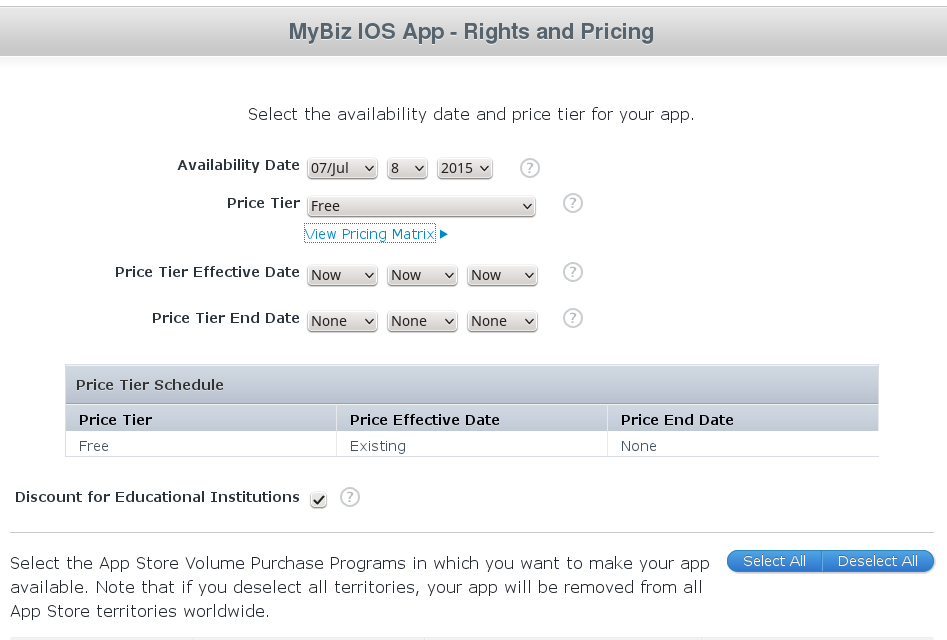
figure 14
Submit For Review
When you have filled in all the required forms and provided the required screenshots, click Save and then Submit for Review. If anything needs to be corrected you will see messages telling you exactly what must be fixed.
The next screen is legalese; click the appropriate Yes or No boxes, and then click the Submit button.
You are now finished. No really, you are. When you return to your My Apps page you’ll see that the status of your app has changed to “Waiting for review”. In a few days, or perhaps many days, your app will either be approved or rejected. If it is rejected Apple will tell you what you need to do to get it approved.
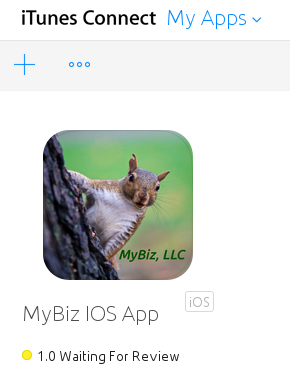
figure 15
When, at last, it is published on iTunes you may distribute the URL so that your users may install and use your app.