Distributing Your Branded Android App (Enterprise Only)
Now that you have created your branded Android app with ownCloud’s ownBuilder service (Creating Branded Client Apps (Enterprise Only)) how do you distribute it to your users? There are multiple ways: Distribution via Email, Publish On Your ownCloud Server, or Publish to the Google Play Store. However you distribute it, the first step is to digitally sign your new app. Signing your app verifies authorship and authenticity.
When you create your branded Android app we supply you with two .apk files: one for debugging and testing, and one for deployment, like these examples:
acmecloud_1.7.0-debug.apk
acmecloud_1.7.0-release-unsigned.apk
The second .apk file, acmecloud_1.7.0-release-unsigned.apk, is the one you will sign and distribute.
Digitally Signing Android Apps
Signing your app is required. You can do this in the ownBrander wizard, or after it is built and delivered to you. The most time-consuming part of signing the built app is installing the commands you need to sign it. You need three commands to sign your app: keytool, jarsigner, and zipalign. Follow these steps:
- Install the signing commands
- Create a self-signed certificate with keytool
- Use jarsigner to sign the app, and to verify signing
- Use zipalign to optimize your app
You only need to create a certificate once, and then use it to sign all of your branded ownCloud apps. If you publish your apps on Google Play they must all be signed with the same certificate.
Installing the App Signing Tools
keytool and jarsigner are in Java runtimes. Linux users can get these in OpenJDK. For example, on current versions of Debian, Mint, and Ubuntu Linux you need to install two packages. The first one supplies keytool and the second one supplies jarsigner:
$ sudo apt-get install openjdk-7-jre-headless
$ sudo apt-get install openjdk-7-jdk
On SUSE systems, install this package:
$ sudo zypper install java-1_7_0-openjdk-devel
It is simpler to get these on CentOS and Red Hat Enterprise Linux, as they have created some nice wrapper scripts around keytool and jarsigner that you can install standalone:
$ sudo yum install keytool-maven-plugin.noarch
$ sudo yum install maven-jarsigner-plugin.noarch
Mac OS X and Windows users can download the Oracle JDK from Oracle’s Java Download page.
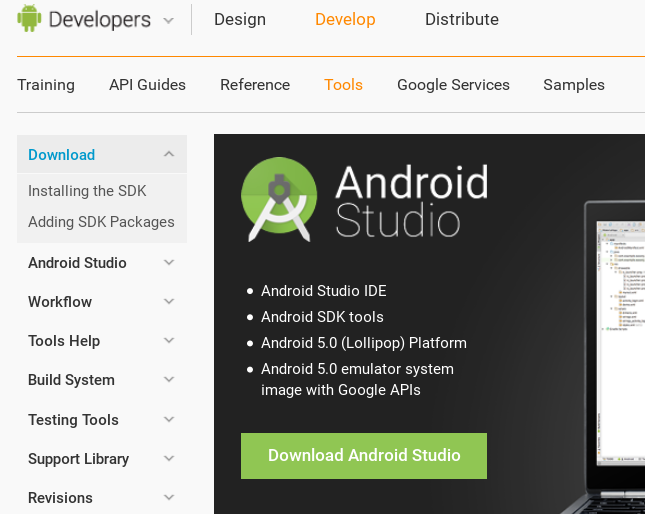
zipalign is included in the Android Software Development Kit. It is a large download, but once you have downloaded it you can copy the zipalign binary to any computer and use it. Go to Android Software Development Kit and click the “Download Android Studio” button.
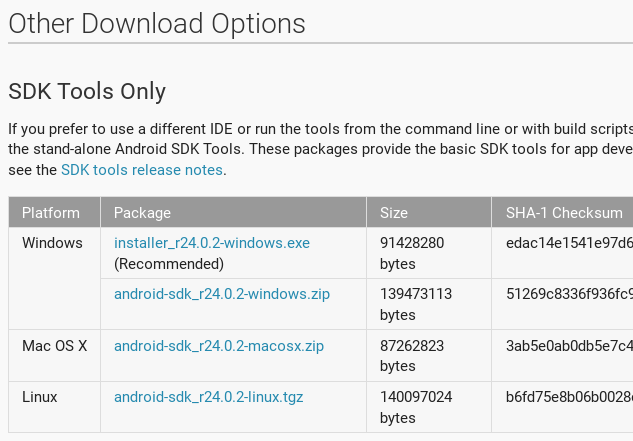
Download the appropriate SDK Tools Only package for your operating system.
Unpack it and change to the unpacked directory, which is android-sdk-linux on Linux systems, android-sdk-macosx on Mac systems, and android-sdk-windows on Windows systems. There is one more step, and that is to install additional tools. Run this command from the unpacked directory:
tools/android update sdk --no-ui
This will take some time, as it is a large download. When it’s finished you’ll find zipalign in the build-tools directory. For convenience, you could copy zipalign to your home folder or other location of your choice, and to any other computer without installing the whole Android SDK.
Digitally Signing Your App
After installing your signing tools, signing your app takes just a few steps. In these examples the name of the app, as supplied by ownBuilder, is acmecloud_1.7.0-release-unsigned.apk.
To create your certificate copy the following command, replacing acme-release-key.keystore and acme_key with your own keystore name and alias, which can be anything you want. The keystore name and alias must both have a password, which can be same for both. Then enter your company information as you are prompted:
$ keytool -genkey -v -keystore acme-release-key.keystore -alias acme_key
-keyalg RSA -keysize 2048
Enter keystore password:
Re-enter new password:
What is your first and last name?
 [Unknown]:  Acme Boss
What is the name of your organizational unit?
 [Unknown]:  Acme Headquarters
What is the name of your organization?
 [Unknown]:  Acme, Inc.
What is the name of your City or Locality?
 [Unknown]:  Anytown
What is the name of your State or Province?
 [Unknown]:  CA
What is the two-letter country code for this unit?
 [Unknown]:  US
Is CN=Acme Boss, OU=Acme Headquarters, O="Acme, Inc.", L=Anytown, ST=CA, C=US
correct?
 [no]:  yes

Generating 2,048 bit RSA key pair and self-signed certificate (SHA256withRSA)
with a validity of 10,000 days
       for: CN=Acme Boss, OU=Acme Headquarters, O="Acme, Inc.", L=Anytown,
       ST=CA, C=US
Enter key password for <acme_key>
       (RETURN if same as keystore password):
[Storing acme-release-key.keystore]
Now use jarsigner to sign your app. Replace acme-release-key.keystore and acme_key with your own keystore name and alias:
$ jarsigner -verbose -sigalg SHA1withRSA -digestalg SHA1 -keystore
acme-release-key.keystore acmecloud_1.7.0-release-unsigned.apk acme_key
Enter Passphrase for keystore:
  adding: META-INF/MANIFEST.MF
  adding: META-INF/ACME_KEY.SF
  adding: META-INF/ACME_KEY.RSA
 signing: res/anim/disappear.xml
 signing: res/anim/grow_from_bottom.xml
 [...]
 jar signed.

 Warning:
 No -tsa or -tsacert is provided and this jar is not timestamped. Without a
 timestamp, users may not be able to validate this jar after the signer
 certificate's expiration date (2042-07-28) or after any future revocation
 date.
You can ignore the warning at the end; you should see a jar signed message when it is finished.
Now you can verify that your app is signed:
$ jarsigner -verify -verbose -certs acmecloud_1.7.0-release-unsigned.apk

     sm       943 Thu Mar 12 12:47:56 PDT 2015
     res/drawable-mdpi/abs__dialog_full_holo_light.9.png

     X.509, CN=Acme Boss, OU=Acme Headquarters, O="Acme, Inc.", L=Anytown,
     ST=CA, C=US
This will spit out hundreds of lines of output. If it ends with the following it’s good:
s = signature was verified
m = entry is listed in manifest
k = at least one certificate was found in keystore
i = at least one certificate was found in identity scope

jar verified.
The last step for preparing your .apk for release is to run zipalign on it. zipalign optimizes your file to use less memory. You must specify both an input and an output file, so this is good time to give your app a shorter name, and it should not say “unsigned”. Our example file will be renamed to acmecloud_1.7.0.apk:
$ zipalign -v 4 acmecloud_1.7.0-release-unsigned.apk acmecloud_1.7.0.apk
Verifying alignment of acmecloud_1.7.0.apk (4)...
     50 META-INF/MANIFEST.MF (OK - compressed)
  13277 META-INF/ACME_KEY.SF (OK - compressed)
  27035 META-INF/ACME_KEY.RSA (OK - compressed)
  28206 res/anim/disappear.xml (OK - compressed)
  [..]
  Verification succesful
Again, this emits a lot of output, and when you see Verification succesful at the end you know it succeeded, and it is ready to distribute.
Distribution via Email
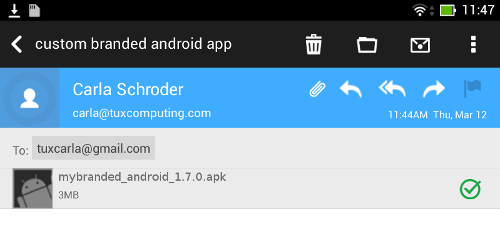
You can download your branded Android app from your account on Customer.owncloud.com, and send it as an email attachment to your users. (This is not the optimal way to distribute it as it is over 2 megabytes in size.) When they open your email on their Android phone or tablet, they must first click the the download arrow (bottom right of the screenshot) to download your app.

When the arrow changes to a green checkbox, it has been downloaded.
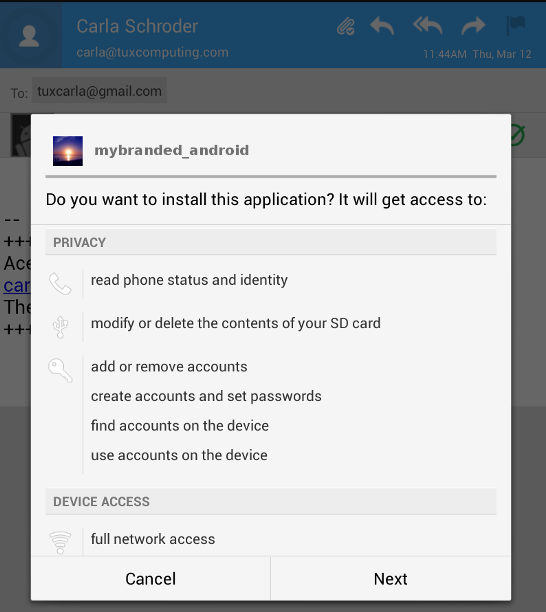
Now your user must click on the green checkbox, and this launches the app installer, and all they have to do is follow the installation wizard to install your branded app.
When the installation is complete, the ownCloud Android App Manual contains instructions for using the app.
Publish On Your ownCloud Server
You can distribute your branded app from your ownCloud server. Simply upload it to your ownCloud server and share it like any other file: you can create normal ownCloud shares with ownCloud users and groups, and you may create a link share to share it with anyone. (See the Files & Synchronization section of the ownCloud User Manual to learn more about sharing files.)
Publish to the Google Play Store
You may elect to publish your app in the Google Play store, either as a free or paid app. There are several steps to publishing a free app:
- Create a Google Play Publisher account.
- Sign your branded app with your own signing certificate.
- Upload your signed branded app to your Google Play Publisher account.
As part of creating your Google Play Publisher account you will have to create some screenshots of your app in specific sizes, and create a store description.
Create a Google Play Publisher Account
Start at Google’s Get Started With Publishing page. Have a credit card ready, because it costs $25. If you already have a Google account, it is usually better to create a separate new account just for publishing apps to the Google Play Store.
Google’s process for uploading apps is fairly streamlined, and the most time-consuming task is creating all the required graphics. After registering, you’ll see the welcome screen for the Google Dev Console. Click Publish an Android app on Google Play.

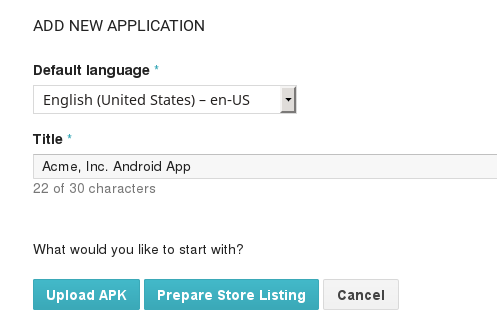
This opens the Add New Application screen. Click the Prepare Store Listing button. (Note that as you navigate the various screens, you can click the Save Draft button to preserve your changes.)
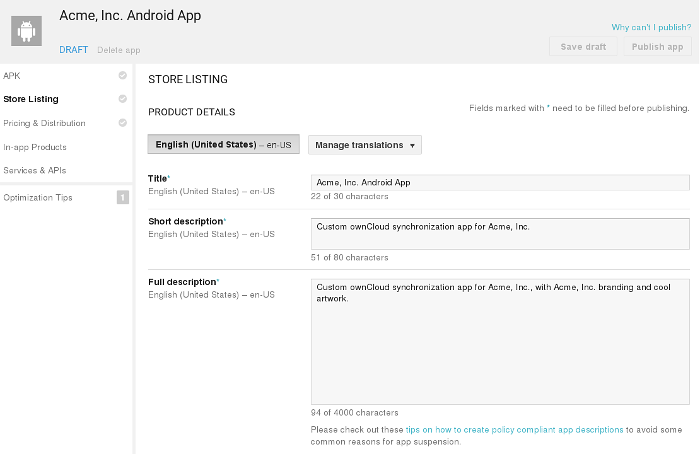
On the next screen, enter your product description.
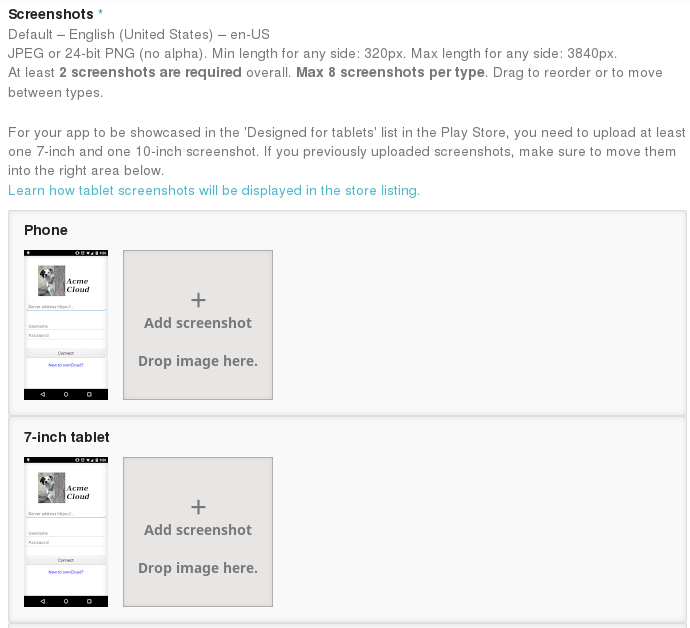
Then you’ll have to upload a batch of graphics in various sizes for the Graphic Assets section, like these images for a smartphone and seven-inch tablet. You are required to upload at least two images.
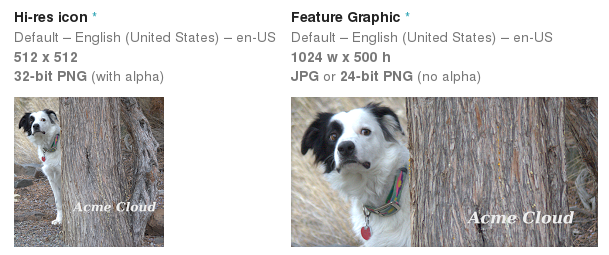
You must also upload a 512x512-pixel logo, and a 1024x500 banner.
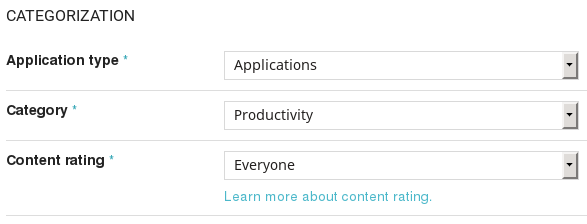
Now choose the store categories for your app.
Then enter your contact information, which will be visible on your store listing.
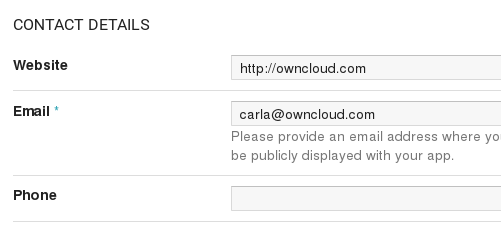
On the next line you may optionally link to your privacy policy. It is recommended to have a privacy policy.
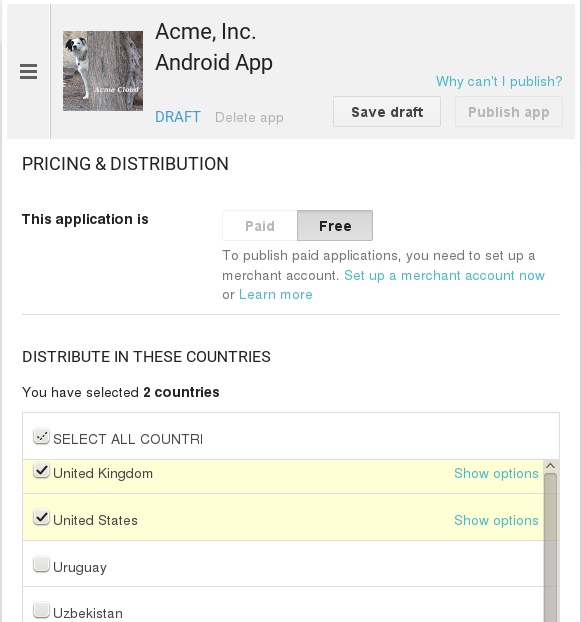
When you’re finished with the Store Listing page, go to the Pricing and Distribution page. You may make this a paid or free app. You cannot convert a free app to paid. You may convert a paid app to free, but then you can’t convert it back to paid. You’ll have numerous options for paid apps, such as Android Wear, Android TV, and various Google marketing tie-ins, and many more.
For now let’s make this a free app, so click the Free button and select the countries you want to distribute it in.
Now you may upload your app.
Uploading to Google Play Store
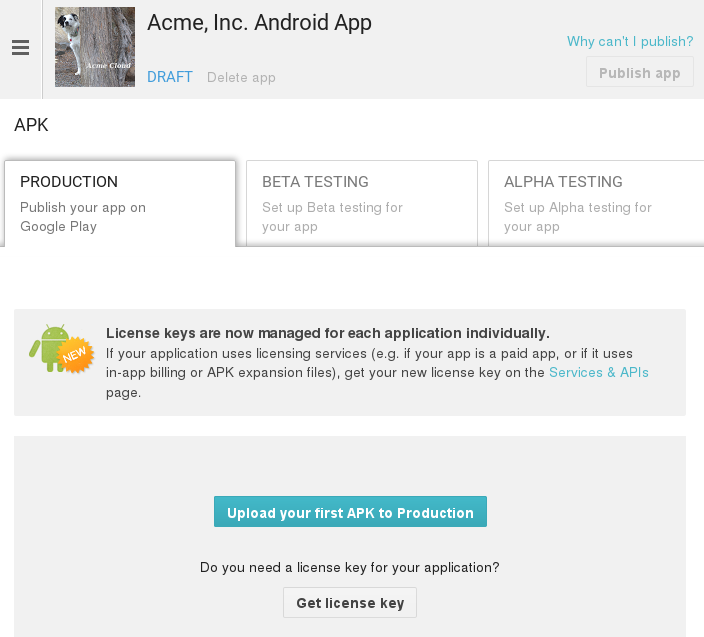
Now you can upload your app to your Google Play Store page. Go to the APK page and click Upload your first APK to Production. You don’t need a license key for a free app.
Drag-and-drop, or browse to select your app.
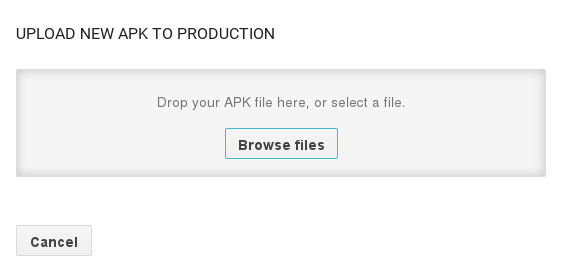
A successful upload looks like this:

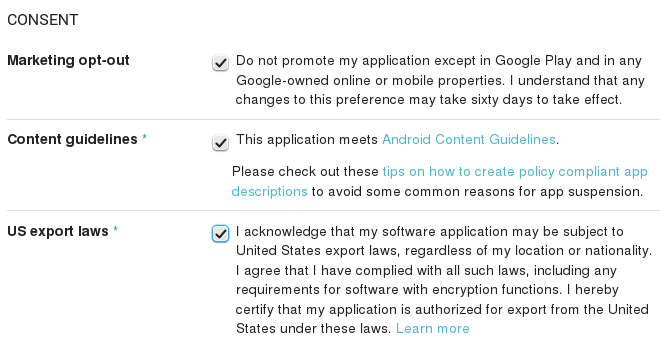
Your app is not yet published, but only uploaded to your account. There is one more step to take before you can publish, and that is to go back to the Pricing & Distribution page and fill out the Consent section.
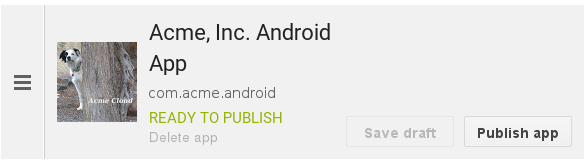
Click the Save Draft button, and if you followed all the required steps you should now see a Publish App button.
It will not be published immediately, but after review by Google, which usually takes just a few hours.
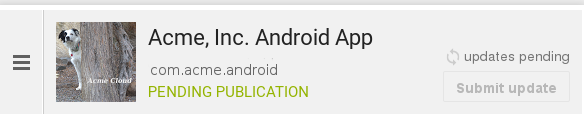
After it has been published, your store listing is updated as PUBLISHED, and it includes a link to your Play Store listing.

Now all you need to do is distribute the URL to your users, and they can install it either from their Web browsers, or from their Google Play Store apps. This is how it looks to your users.
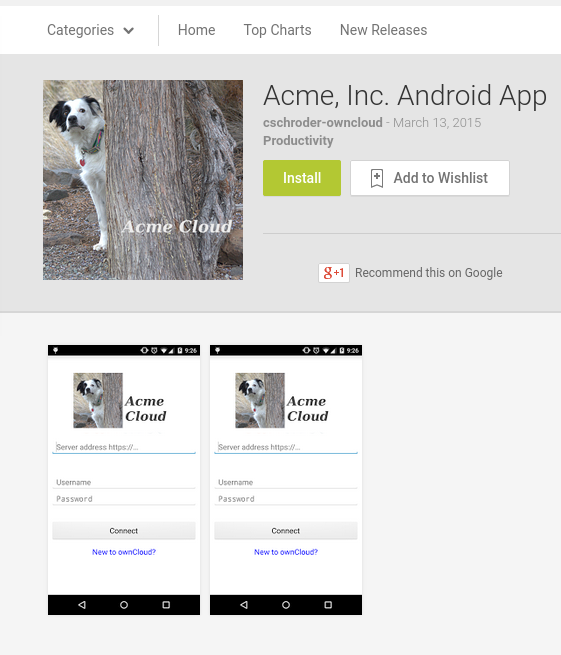
See Custom Client Download Repositories to learn how to configure your ownCloud server to use the link to your branded app instead of the ownCloud app, and see the Theming the First Run Wizard section of Theming ownCloud to learn how to create a custom icon for your branded app.
Publishing a Paid App in Google Play
If you would rather not give your branded app away you can sell it on Google Play. You may convert a paid app to free, but you may not convert a free app to paid.
You must establish a Google Wallet Merchant Account. On your Google Dev Console click the Learn more link under the Free/Paid button for a nice thorough review of the process and tools. It requires verifying your business information and bank account, and you should expect it to take 3-4 days.
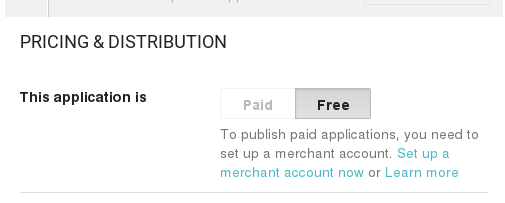
When you’re ready to set it up, click the Set up a merchant account now link under the Free/Paid button.