Create Bundle IDs
The next step is to create four Bundle IDs. These are unique identifiers for your branded iOS app. You must also create an App Group and place your three Bundle IDs in your App Group. You will need your base Bundle ID and App Group when you build your app with the ownBrander app on Customer.owncloud.com.
Create App ID
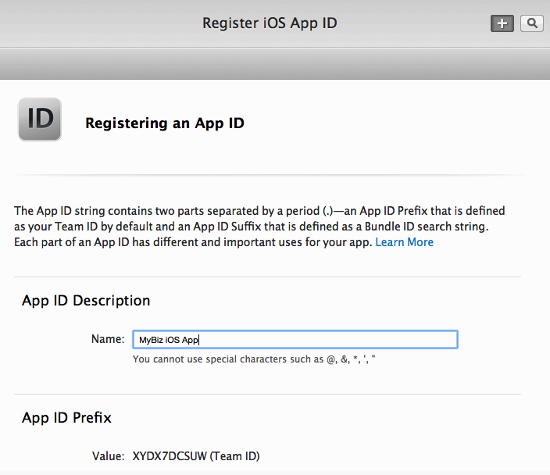
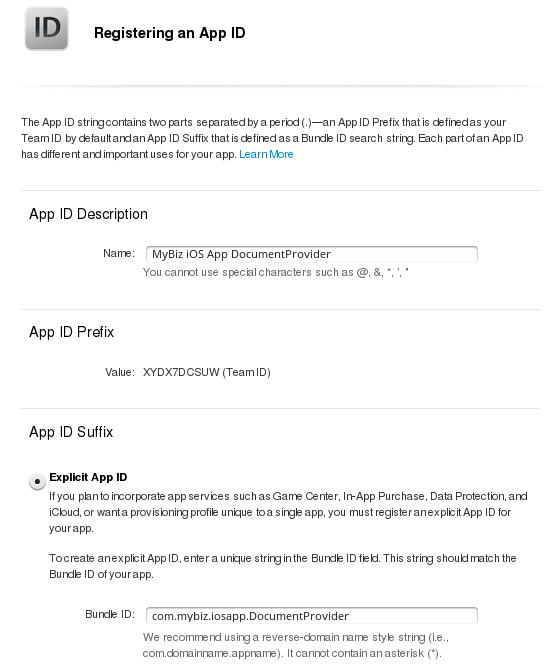
Now you must create your App ID. Go to Identifiers > App IDs and click the plus button (top right) to open the “Register iOS App ID” screen. Fill in your App ID Description, which is anything you want, so make it helpful and descriptive. The App ID Prefix is your Apple Developer Team ID, and is automatically entered for you.
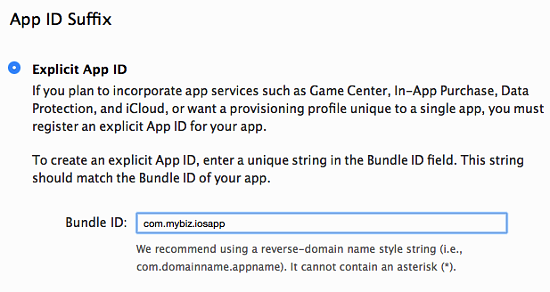
Scroll down to the App ID Suffix section and create your Bundle ID. Your Bundle ID is the unique identifier for your app. Make a note of it because you will need it as you continue through this process. The format for your Bundle ID is reverse-domain, e.g. com.MyCompany.MyProductName.
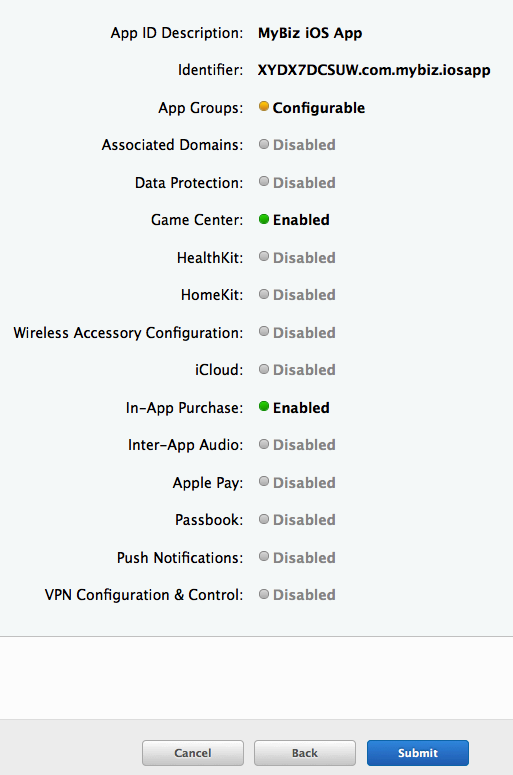
The next section, App Services, is where you select the services you want enabled in your app. You can edit this anytime after you finish creating your App ID. Check App Groups, make your other selections and then click the Continue button at the bottom. Now you can confirm all of your information. If everything is correct click Submit; if you need to make changes use the Back button.
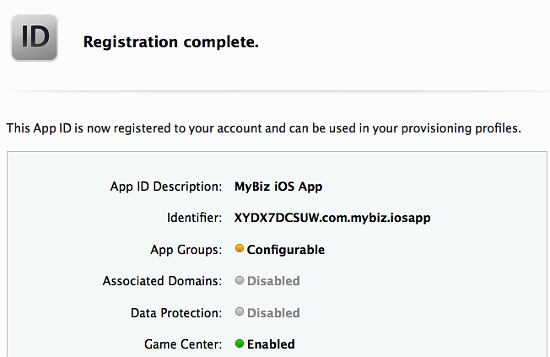
When you are finished you will see a confirmation. Click the Done button at the bottom.
Create App Group
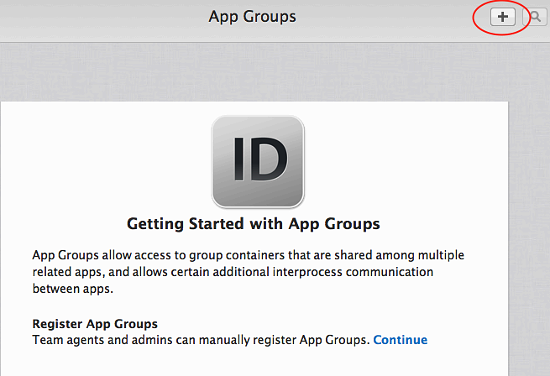
The next step is to create an App Group and put your App ID in it. Go to Identifiers > App Groups and click the plus button (top right).
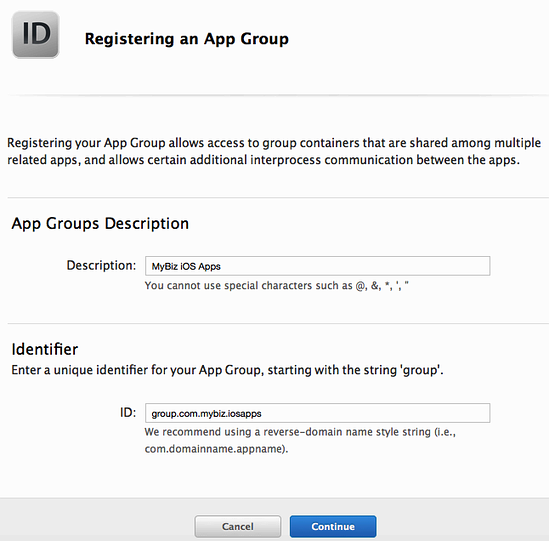
Create a description for your app group, and a unique identifier in the format group.com.MyCompany.MyAppGroup. Then click Continue
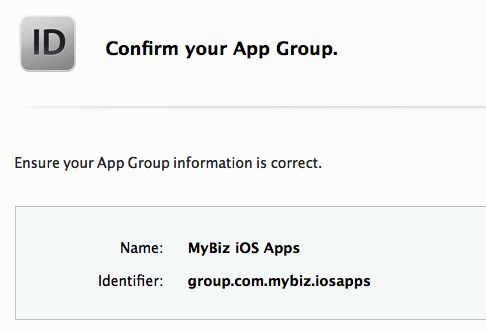
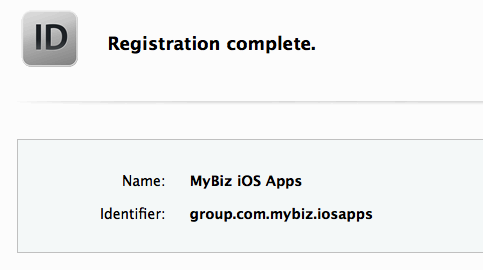
Review the confirmation screen, and if everything looks correct click the Register button.
You’ll see a final confirmation screen; click Done.
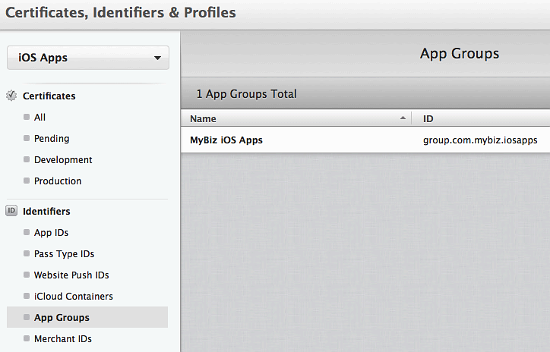
When you click on App Groups you will see your new app group.
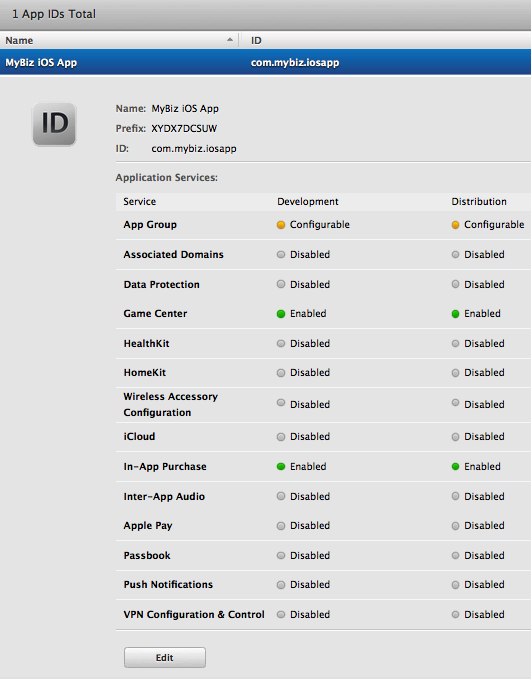
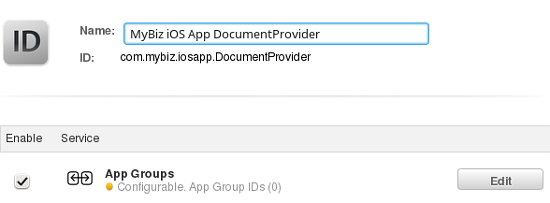
Now go back to Identifiers > App IDs and click on your App ID. This opens a screen that displays all your app information. Click the Edit button at the bottom.
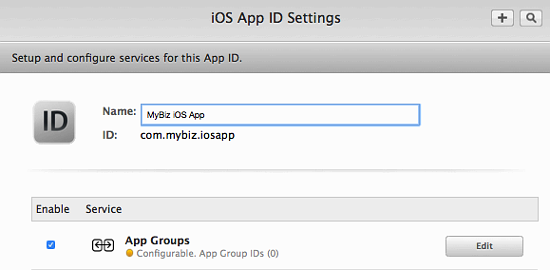
Click the Edit button next to App Groups.
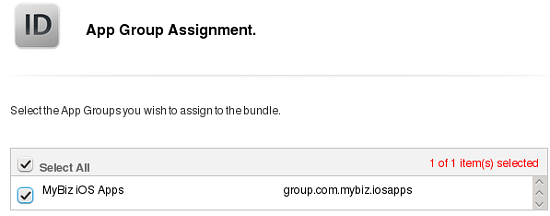
Check your app and click the Continue button.
The next screen asks you to “Review and confirm the App Groups you have selected”. Click the Assign button to confirm. The next screen announces “You have successfully updated the App Groups associations with your App ID”, and you must click yet another button, the Done button at the bottom.
Create a DocumentProvider Bundle ID
Now you must return to Identifiers > App IDs and click the plus button to create a DocumentProvider Bundle ID. Follow the same naming conventions as for your App ID, then click Continue.
Confirm your new App ID and click Submit.
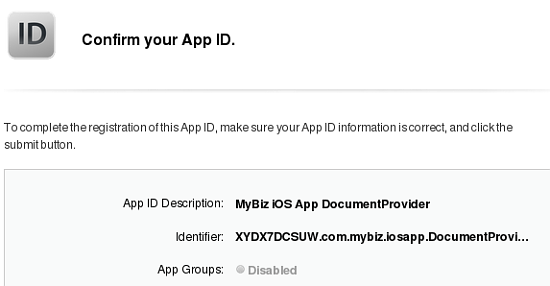
You will see one more confirmation: “Registration complete. This App ID is now registered to your account and can be used in your provisioning profiles.” Click Done.
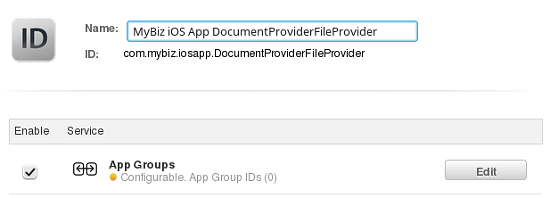
Now you need to add it to your App Group. Go to Identifiers > App IDs and click on your new DocumentProvider Bundle ID to open its configuration window, and then click the Edit button at the bottom.
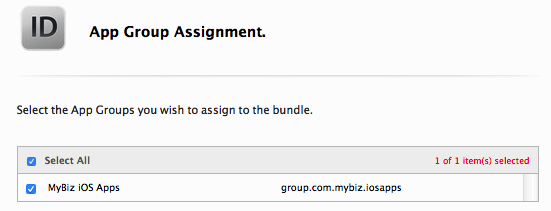
Select App Groups and click the Edit button.
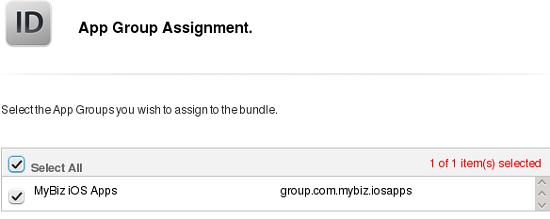
Select your group and click Continue.
Once again you will asked if you really mean it. On the confirmation screen click Assign, and you’ll see the message “You have successfully updated the App Groups associations with your App ID.”
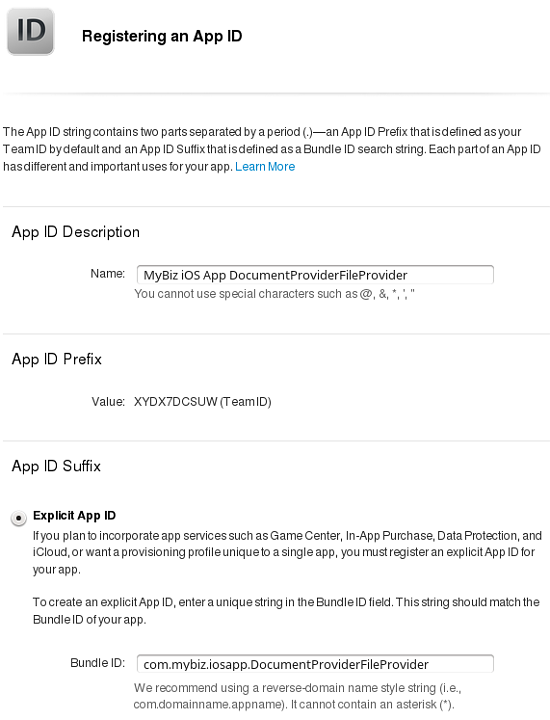
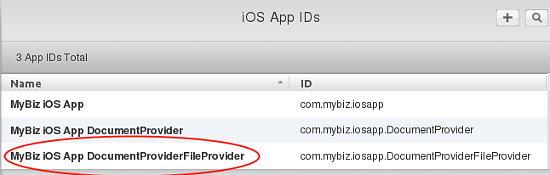
Create a DocumentProviderFileProvider Bundle ID
One more time, go to Identifiers > App IDs and click the plus button to create a DocumentProviderFileProvider Bundle ID. Follow the same naming conventions as for your App ID, then click Continue.
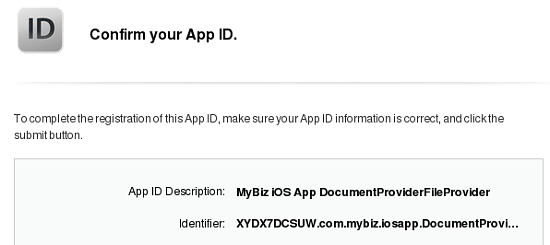
Confirm your new App ID and click Submit.
You will see one more confirmation; review it and click Done. Now you need to add it to your App Group. Go to Identifiers > App IDs and click on your new DocumentProviderFileProvider Bundle ID to open its configuration window, and then click the Edit button.
Select App Groups and click the Edit button.
Select your group and click Continue.
On the confirmation screen click Assign, and you’ll see the message “You have successfully updated the App Groups associations with your App ID.”
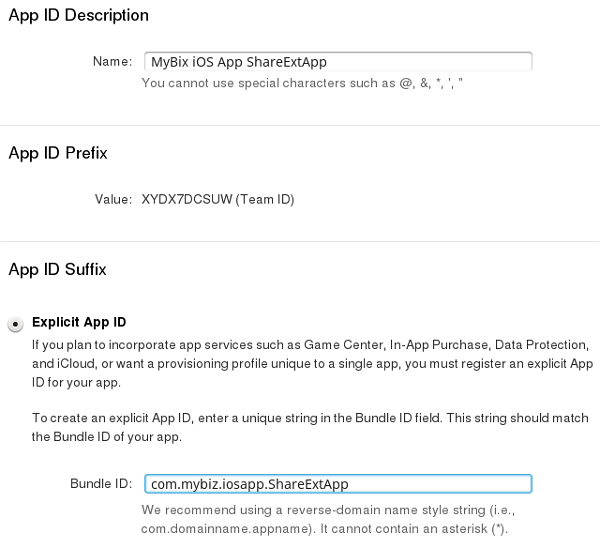
Create a ShareExtApp Bundle ID
This supports Apple’s ShareIN extension.
Yet again, go to Identifiers > App IDs and click the plus button to create a ShareExtApp Bundle ID. Follow the same naming conventions as for your App ID, then click Continue.
Confirm your new App ID and click Submit.
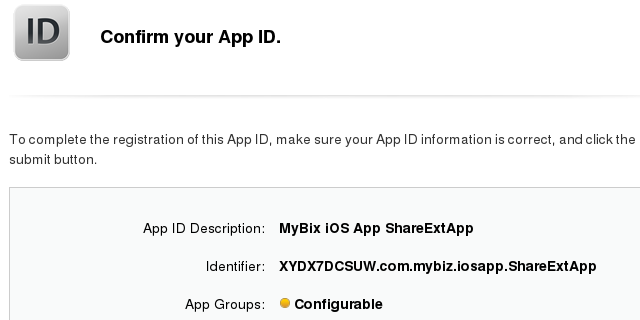
You will see one more confirmation; review it and click Done. Now you need to add it to your App Group. Go to Identifiers > App IDs and click on your new ShareExtApp Bundle ID to open its configuration window, and then click the Edit button.
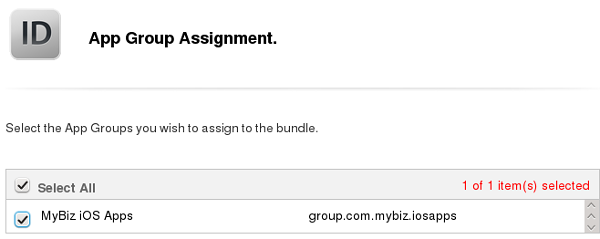
Select App Groups and click the Edit button.

Select your group and click Continue.
On the confirmation screen click Assign, and you’ll see the message “You have successfully updated the App Groups associations with your App ID.”
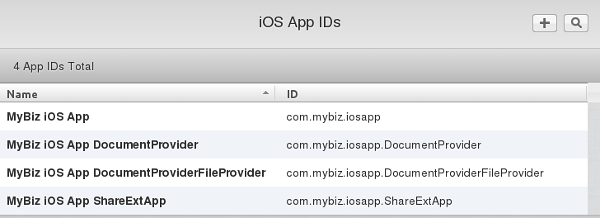
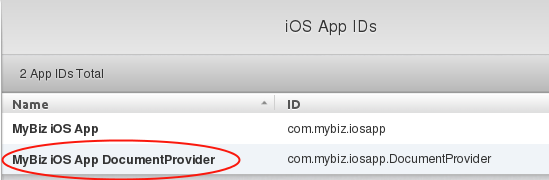
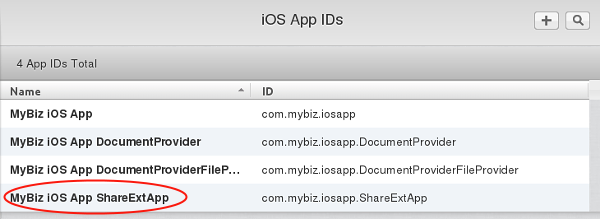
Four Completed App IDs
Now you should have four new App IDs, and all of them should belong to your App Group.