Building Your iOS App With ownBrander
At long last you have arrived at the point where you can actually build your branded iOS app. Log into your account on Customer.owncloud.com/owncloud and open the ownBrander app.
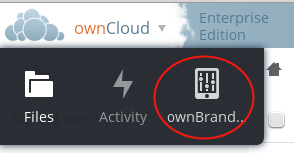
If you don’t see the ownBrander app, open a support request (Open Case button).
Your first ownBrander task is to review the iOS page on ownBrander for your image requirements. You will need a lot of them, in specific sizes and formats, and they’re all listed on the ownBrander page.
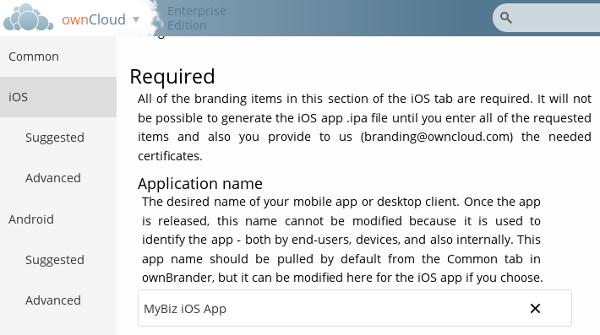
There are three sections: Required, Suggested, and Advanced. The Required sections contains all of the required elements that you must configure. Suggested and Advanced allow additional customizations.
When you have completed and submitted your app, email your three provisioning profiles and P12 certificate to branding@owncloud.com.
Required Section
Enter your application name. This can be anything; in this example it is the same name used in our signing certificate examples.
Next, enter your ownCloud server URL. This hard-codes it into your app. If you leave this blank then your users will have to enter it every time they use the app.
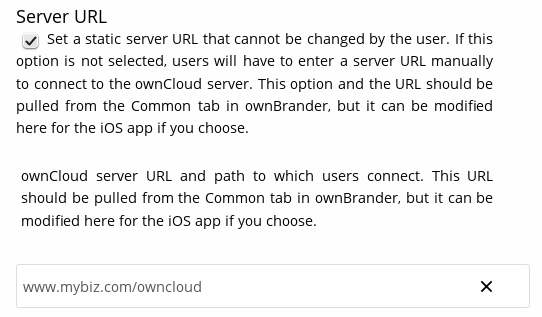
Check Server URL Visible to make your ownCloud server URL the default, and to allow your users to enter a different URL.

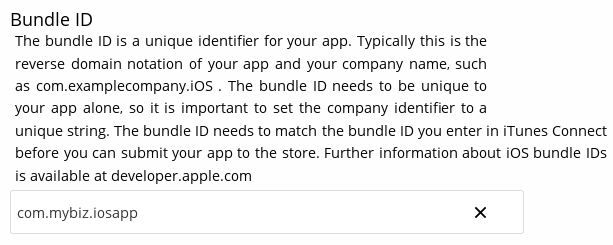
And now, the all-important Bundle ID. Make sure that this is exactly the same as the Bundle ID you created on Developer.apple.com (see Create Bundle IDs).
You must also enter the App Group you created.

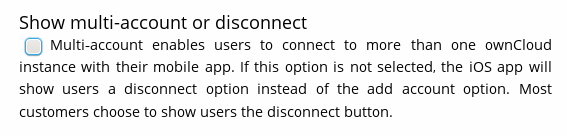
Check Show multi-account or disconnect if you plan to allow your users to have more than one ownCloud account.
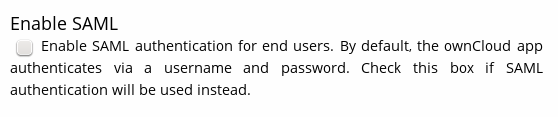
Check Enable SAML authentication if that is what you use on your ownCloud server. Otherwise leave it blank.
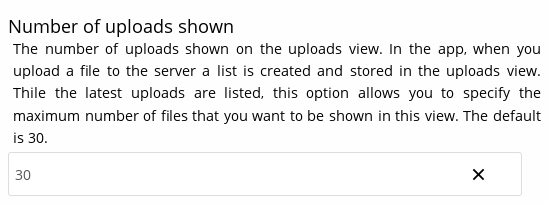
Number of uploads shown controls the length of the most recent uploads list on the app. The default is 30.
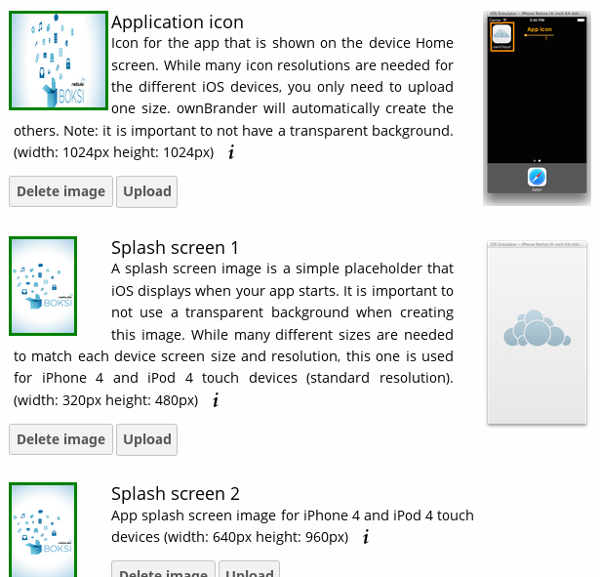
The next section is for uploading your custom artwork to be built into the app. The ownBuilder app tells you exactly which images you need, and their required size. Click the example images on the right to enlarge them.
You may enter a custom User agent, which is useful for traffic analysis and whitelisting your app.

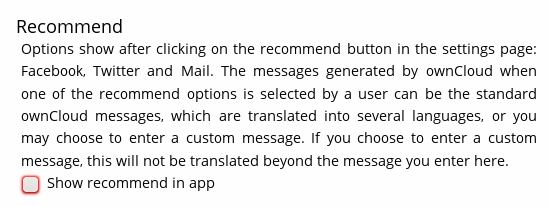
Check Recommend to open a Twitter, Facebook, and Email recommendation configurator.
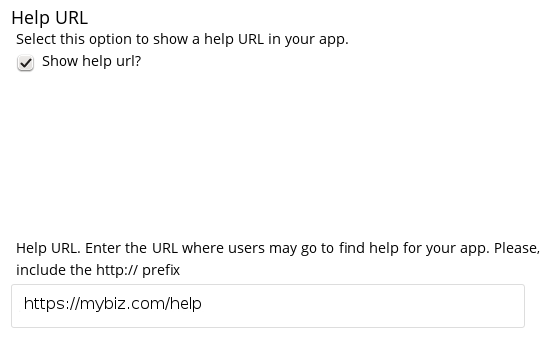
If you have online help, enter the URL here.
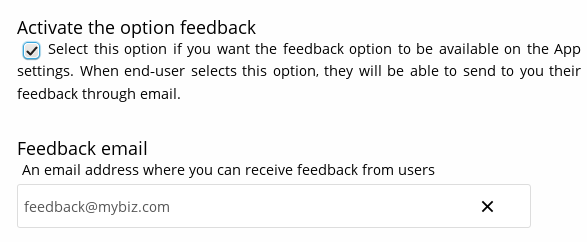
Activate the option feedback creates an option for your users to either enable or not enable the feedback option on their devices. If you enable this, enter your Feedback email address.
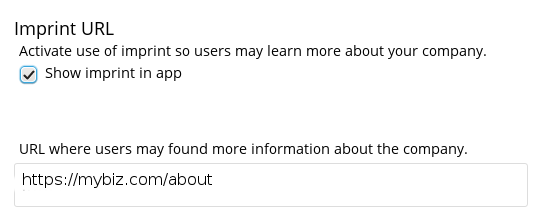
Enter your Imprint URL (your “about” page)
Check Show a “new account” link in app to allow new users to request a new account.

Upload an icon that will be displayed by default when there is no file preview to display.
By default, sharing by public URL is enabled. Public share links allow your users to share files with anyone. This option allows you to disable public link sharing.
You may disable background transfers if you are using mobile device management (MDM), such as Mobile Iron, that does not support background jobs, or if you simply do not want to allow the app to work in the background. By default, the ownCloud iOS app supports background file transfers by taking advantage of Background Execution.
That completes the required elements of your branded iOS app.
Suggested Section
The Suggested section allows you to customize additional elements such as text and background colors, and icons. The Suggested items are all optional.
Advanced Section
The Advanced section allows you to optionally customize the color of messages such as connection status, error messages, letter separators, buttons, and additional icons.
Generate iOS App
When you have uploaded all of your images and completed your customizations, click the Generate iOS App button and take a well-deserved break. Remember to email your four Ad Hoc provisioning profiles and P12 certificate to branding@owncloud.com.

You may go back and make changes, and when you click the Generate iOS App button the build system will use your latest changes.
Check your account on Customer.owncloud.com in 48 hours to see your new branded ownCloud app.